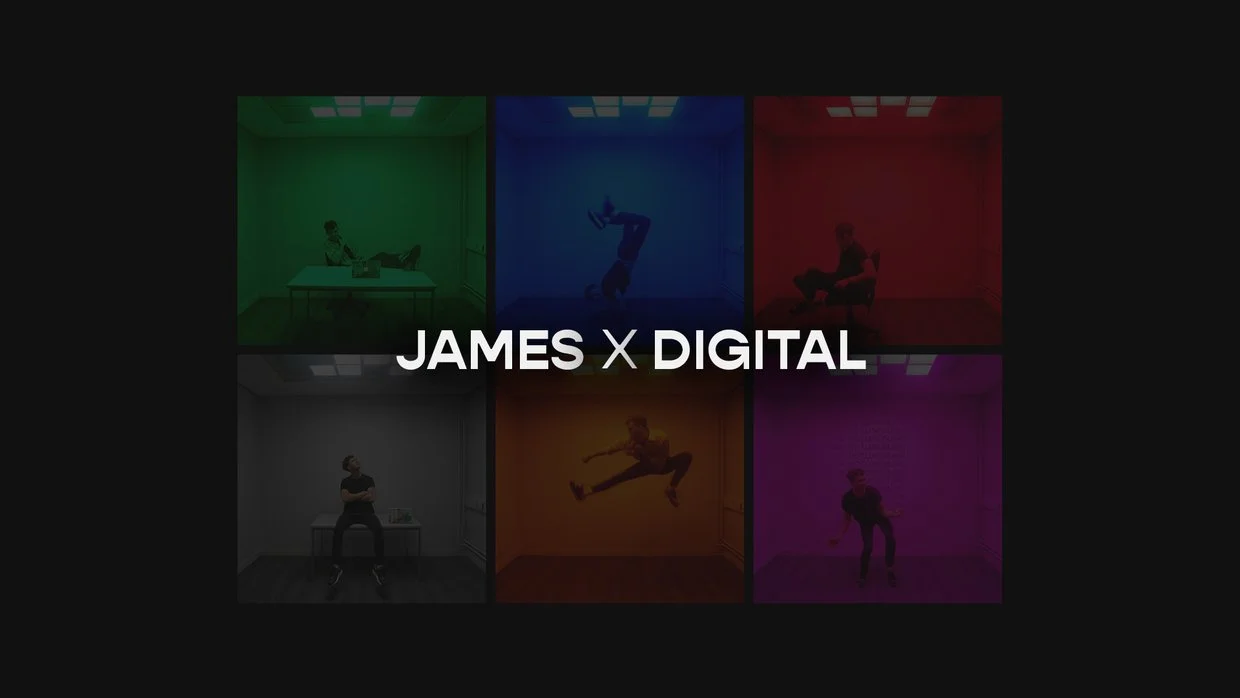
James Milton, Creative Technologist
I turn wild ideas into working prototypes with code, design and AI.
Creative Technologist & AI innovator from Amsterdam
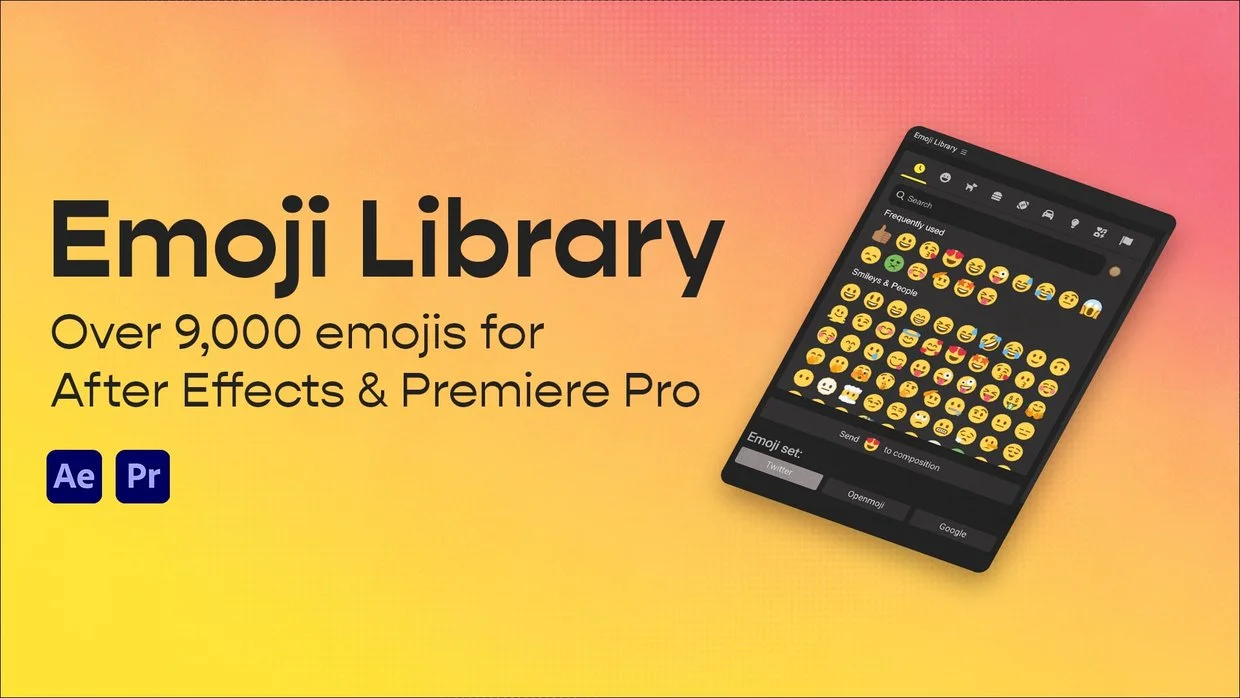
9,000+ emojis plugin for After Effects & Premiere Pro
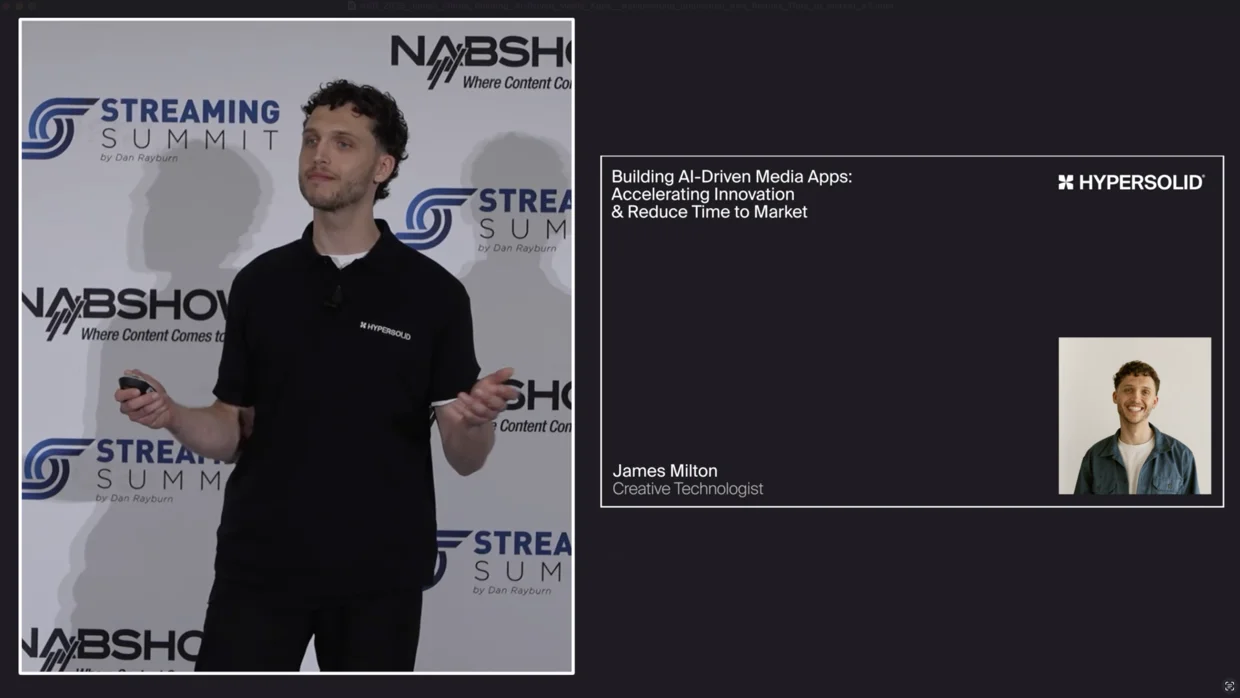
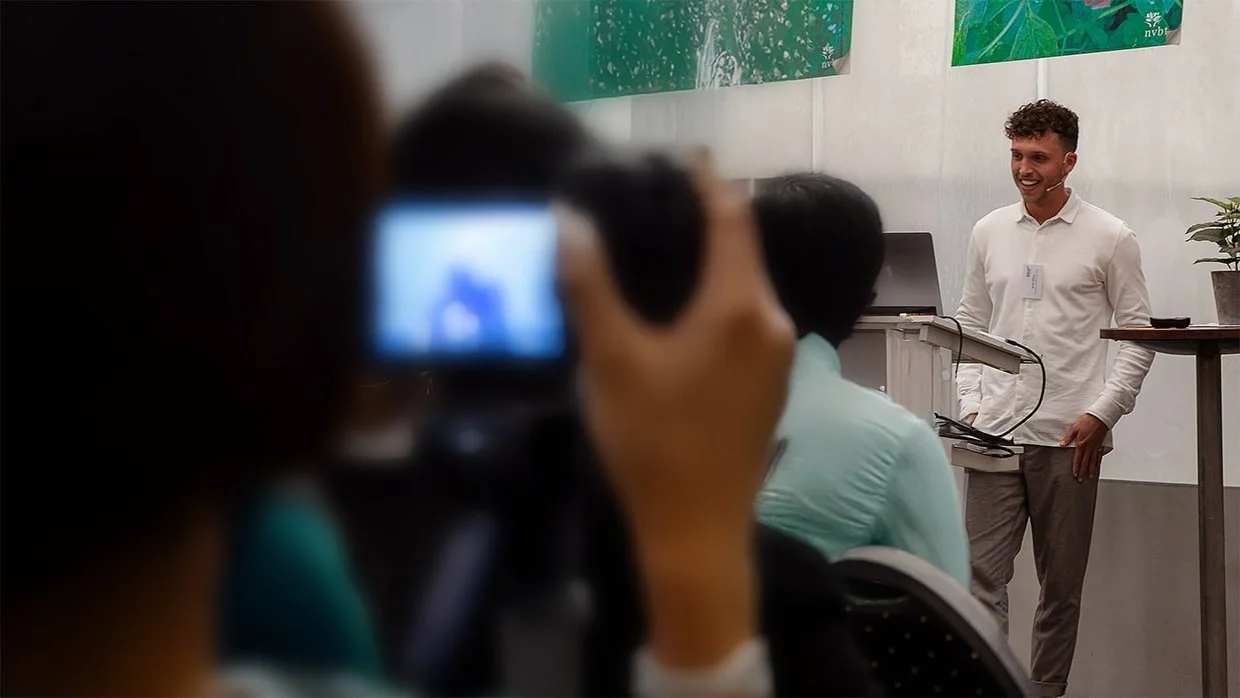
Keynote on AI's impact on media and creative technology
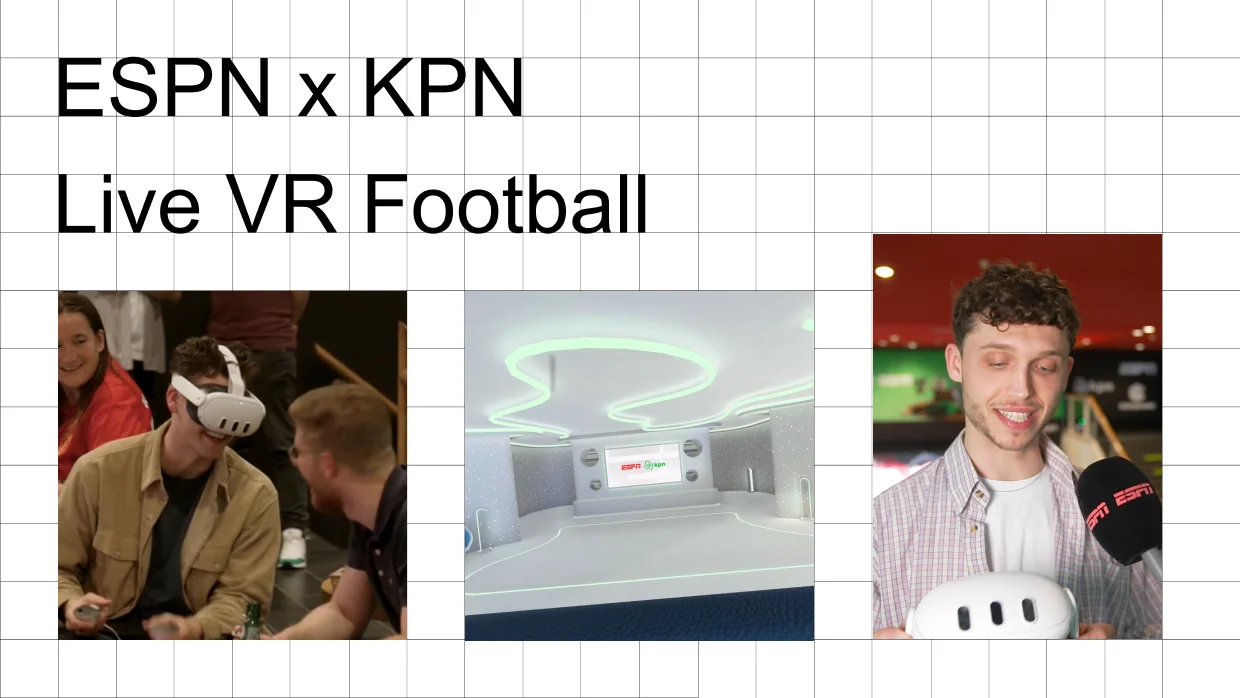
Immersive VR experience streaming live football to 60 headsets
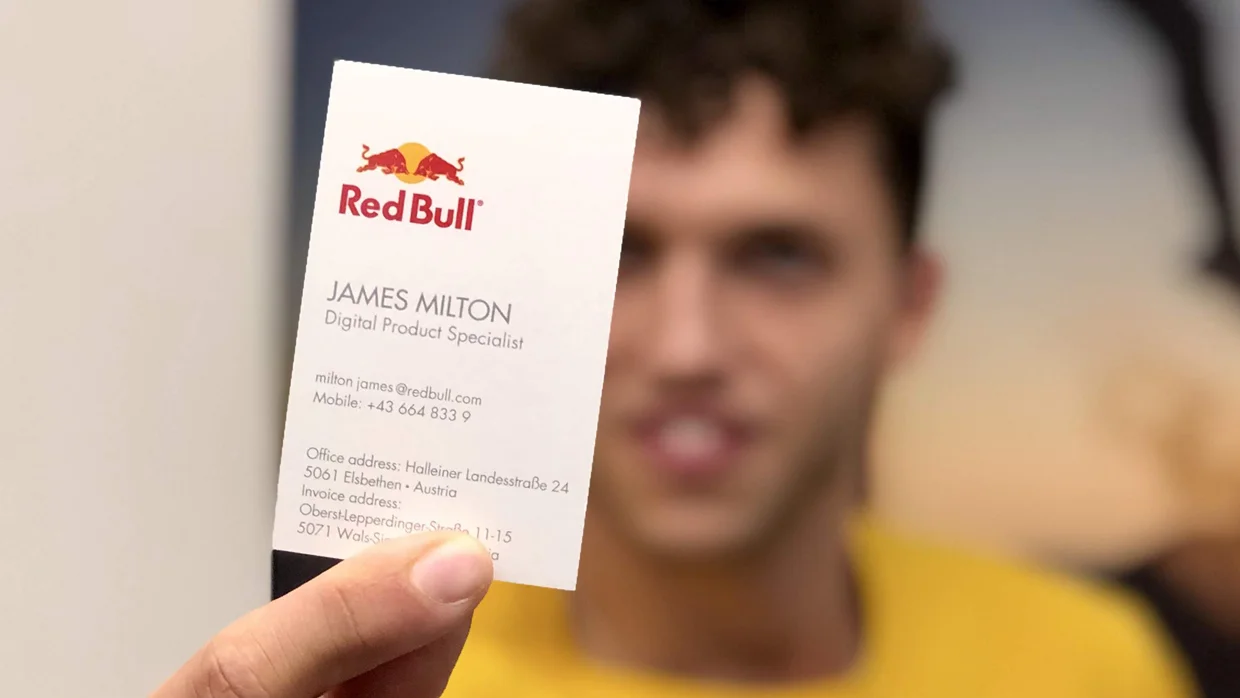
4 years at Red Bull HQ in Austria building redbull.com
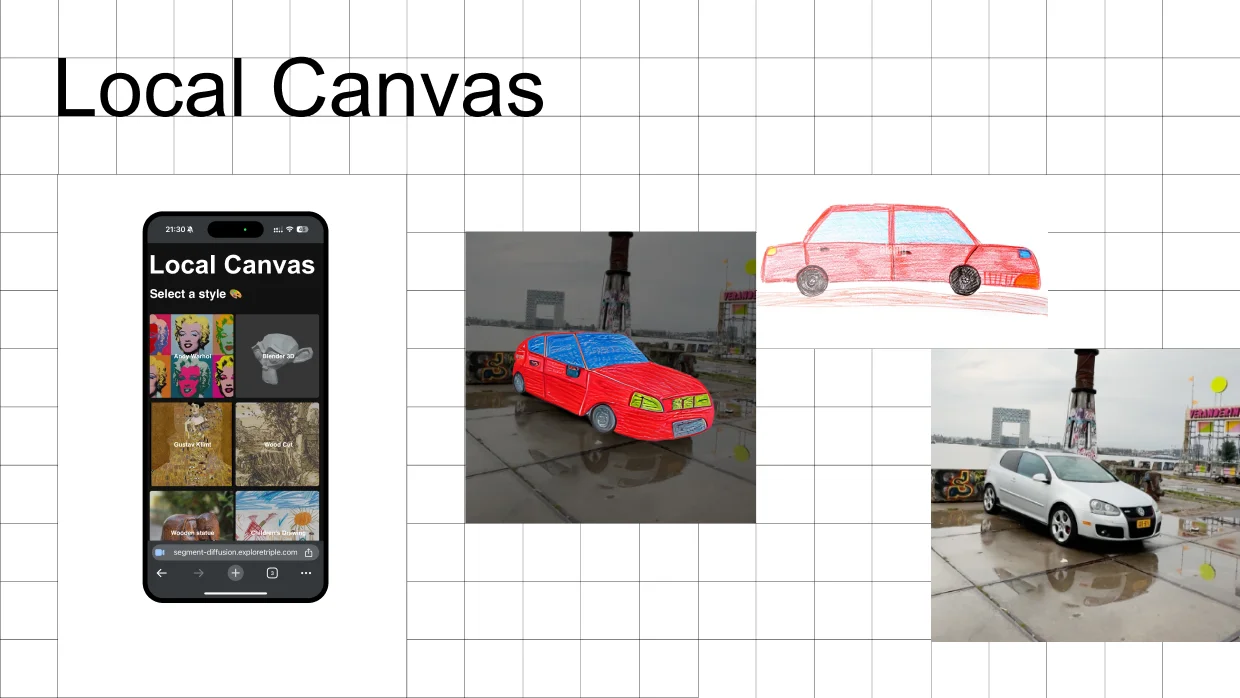
AI app that transforms reality into living artworks

Hacking Meta Ray-Ban glasses to create AI-powered experiences
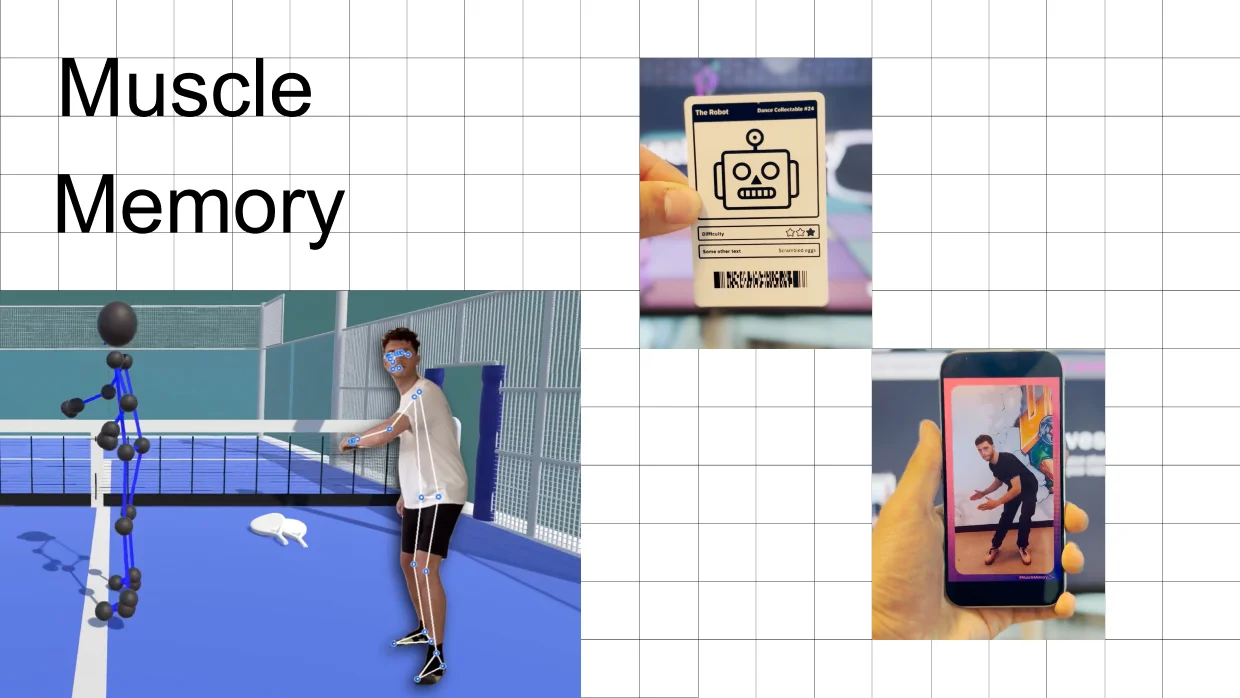
AI motion tracking for accelerated sports & dance skill learning

Award-winning VR system visualizing 3,000+ building sensors
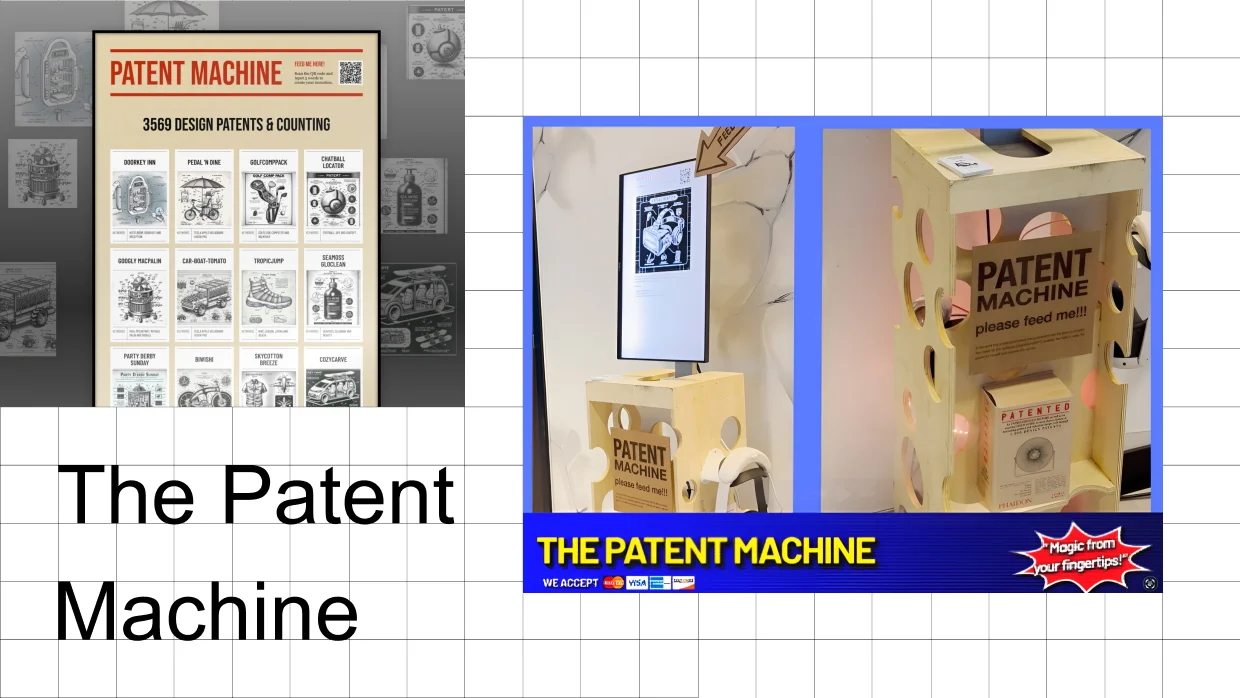
Interactive AI installation generating instant patents from 3 words
Motion design showcase for Puma, Red Bull & MAN Trucks
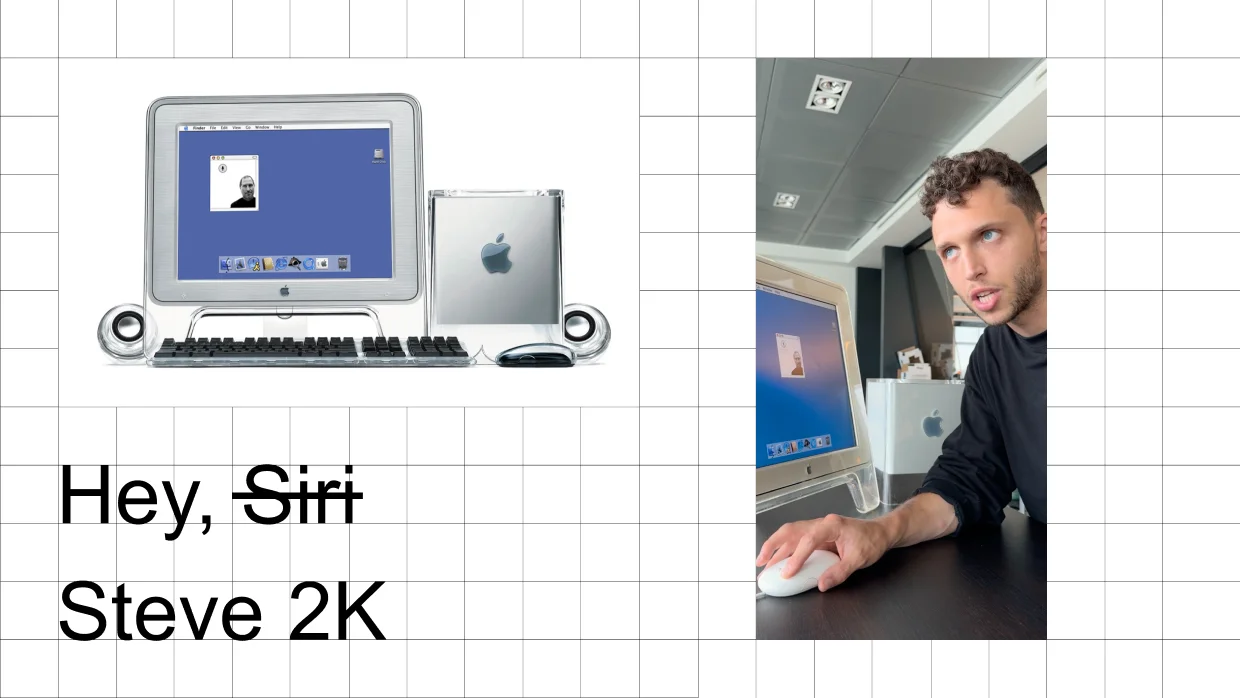
Vintage Mac G3 running Steve Jobs AI from the year 2000
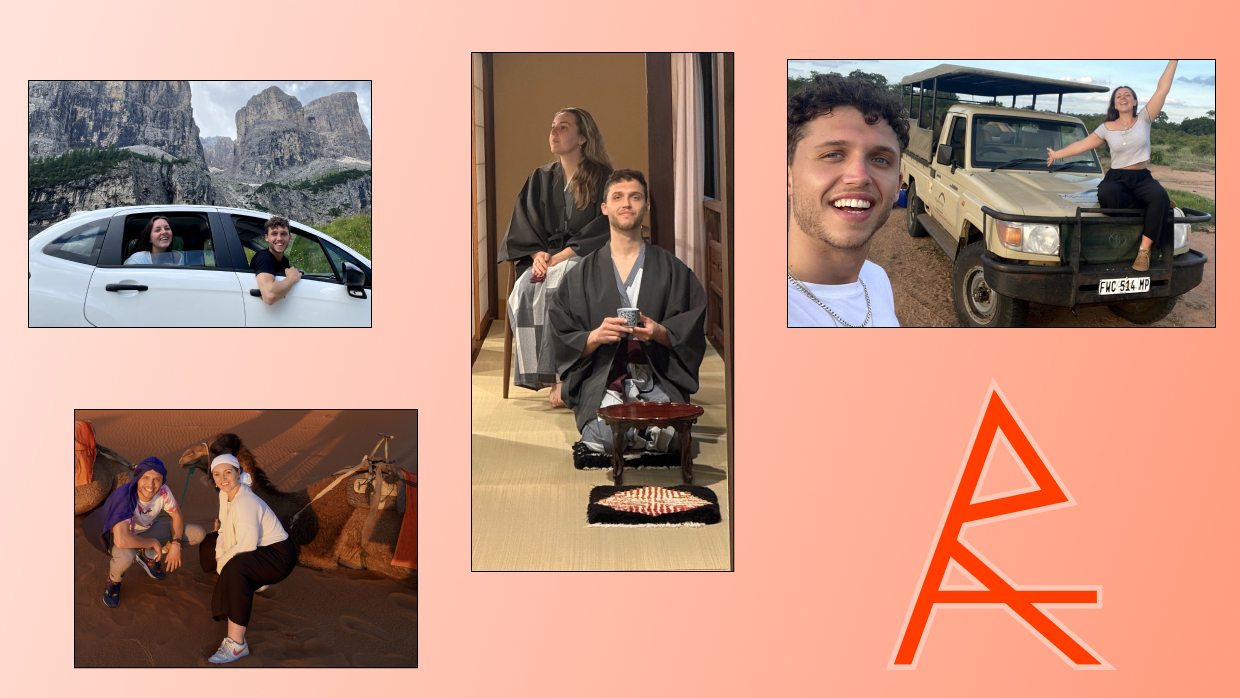
Creative travel archive documenting James & Katie's adventures